

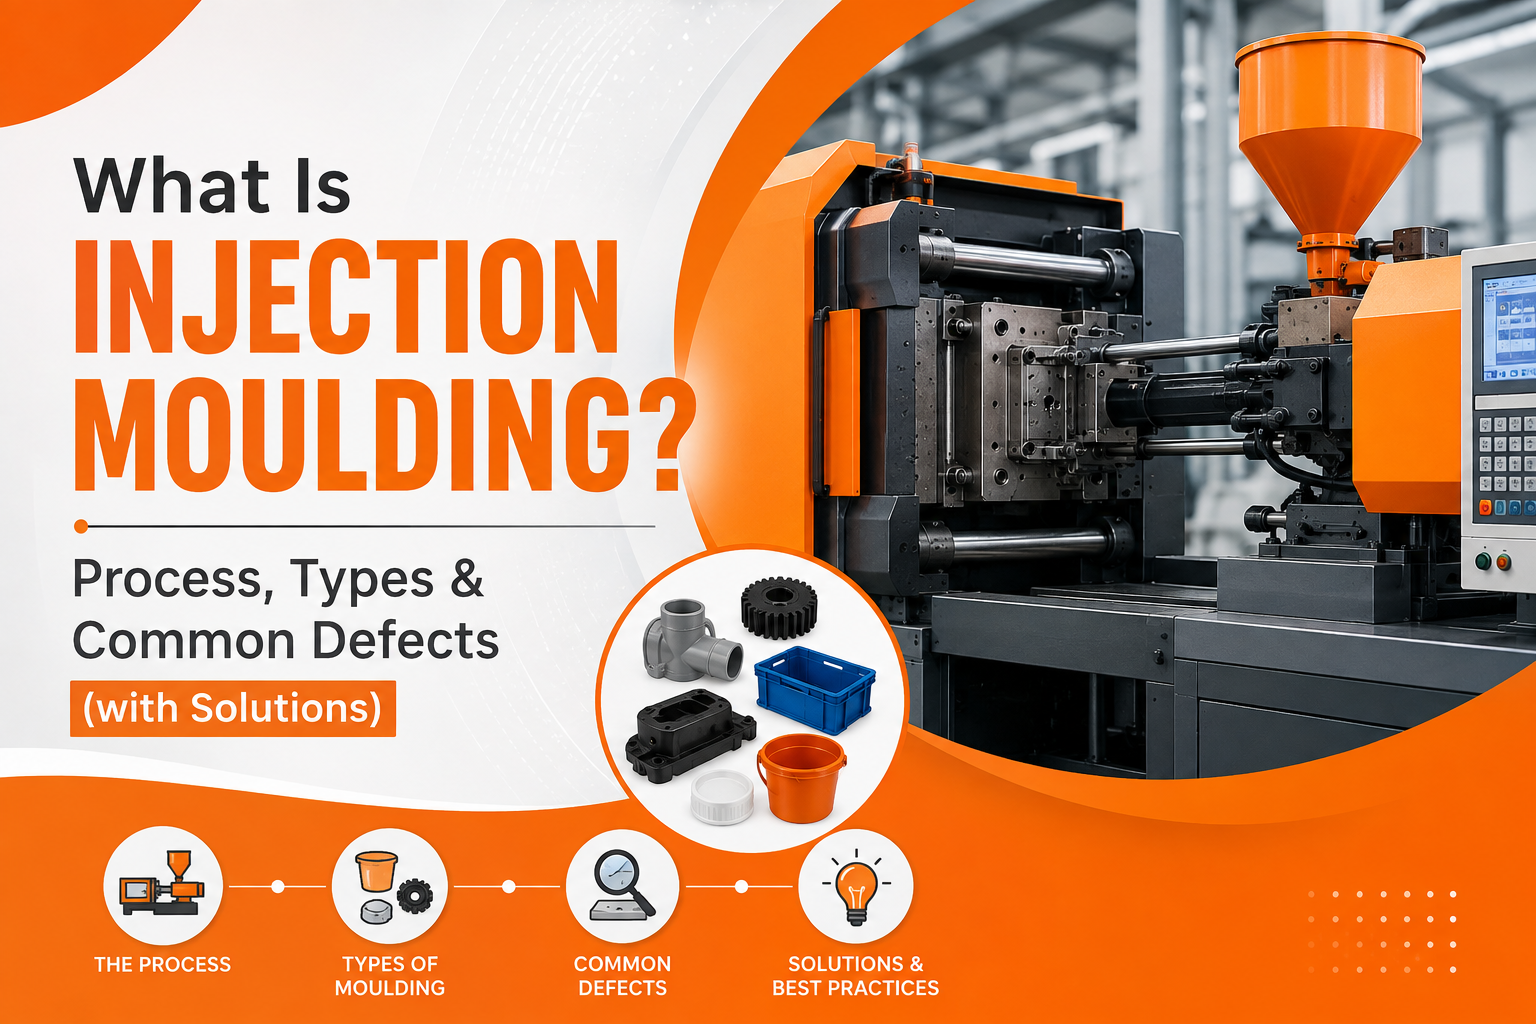
A single injection moulding machine can produce thousands of identical plastic parts a day — until one setting drifts and a whole batch comes out with sink marks, short shots, or flash. Scrap piles up, cycle times slip, and margins vanish. Most of these problems are predictable and preventable once you know what’s causing them.
Injection moulding defects almost always trace back to four root causes: material, mould design, machine settings, or part design. Nail those and defect rates drop sharply.
This guide walks you through the injection moulding process, the main defect types you’ll meet on the shop floor, and the practical fix for each one. Whether you’re a moulder, designer, or buyer, you’ll leave able to diagnose the most common faults and know which lever to pull.
What Is the Injection Moulding Process?
Injection moulding is a manufacturing process where molten plastic is injected under pressure into a closed mould cavity, then cooled and ejected as a finished part. It’s used to mass-produce everything from bottle caps to automotive components with tight repeatability.
The cycle has clear stages. Plastic granules are fed into a heated barrel, melted, and mixed. A screw then injects the melt into the mould at high pressure. The part cools and solidifies inside the cavity before the mould opens and ejects it.
Because every stage — temperature, pressure, speed, cooling — affects the final part, a small drift anywhere in the chain can trigger a defect. That’s why understanding the process is the first step to preventing faults.
Why Do Injection Moulding Defects Happen?
Most defects come from one of four sources. Material issues include moisture, contamination, or the wrong grade. Mould issues cover worn tooling, poor venting, or bad gate placement.
Machine and process issues involve incorrect temperature, pressure, injection speed, or cooling time. Part-design issues include uneven wall thickness, sharp transitions, or long flow paths that starve the cavity.
Fixing a defect often means checking all four. A sink mark might come from thick walls (design), low pressure (process), or both. Systematic troubleshooting beats guessing, and good process control can cut scrap rates dramatically.
Common Injection Moulding Defects and Their Solutions
Below are the defects you’ll see most often, what causes them, and how to fix each one.
1. Short Shot
A short shot happens when molten plastic doesn’t fully fill the cavity, leaving incomplete or missing features. It’s common in thin-walled sections and areas far from the gate.
Causes include low injection pressure, insufficient material, low melt temperature, poor gate placement, or trapped air. Fix it by raising injection pressure and speed, increasing melt and mould temperature, improving venting, or relocating the gate to shorten flow paths.
2. Sink Marks
Sink marks are surface depressions or dimples, usually over thick sections, ribs, or bosses. They form when the outer skin solidifies before the inner material, which then contracts and pulls the surface inward.
Reduce sink marks by lowering thick-wall thickness, keeping rib thickness around 60% of the adjacent wall, extending cooling time, and increasing holding pressure so more material packs the cavity as it cools.
3. Flash
Flash is excess plastic that escapes the cavity and solidifies as thin fins along the parting line, ejector pins, or gates. It’s often cosmetic but adds trimming cost and can affect tolerances.
It’s usually caused by excessive injection pressure, worn tooling, poor mould fit, or low clamping force. Solutions include lowering injection pressure, increasing clamp force, maintaining or repairing the mould, and improving the parting-line seal.
4. Warping
Warping is a distortion where the part bends or twists out of shape. It stems from uneven cooling or internal stress, often from inconsistent wall thickness.
Prevent warping with uniform wall thickness, balanced cooling channels, and controlled mould temperatures. Sometimes running the two mould halves at slightly different temperatures corrects a specific warp direction.
5. Weld Lines
Weld lines (or knit lines) are visible seams where two flow fronts meet and don’t fully fuse. They can be cosmetic or create genuine structural weakness, and they often appear around holes and inserts.
Causes include low melt temperature, cooler flow fronts, or complex geometry that splits the flow. Fixes include raising melt and mould temperature, increasing injection speed, and adjusting gate location so flow fronts meet where strength matters less.
Burn Marks
Burn marks are black or brown discoloration, most visible on light-colored parts. They occur when trapped air is compressed and superheated as the melt enters, or from resin degradation at high temperatures.
Improve venting so trapped air can escape, reduce injection speed, and lower melt temperature to stop the plastic from degrading.
Defect Quick-Reference Table
| Defect | Main Cause |
Key Fix |
|
Short shot |
Incomplete fill, low pressure |
Raise pressure/temperature and improve venting |
|
Sink marks |
Thick walls, slow cooling |
Reduce wall thickness, raise hold pressure |
|
Flash |
Excess pressure, worn tooling |
Lower pressure, increase clamp force |
|
Warping |
Uneven cooling, stress |
Uniform walls, balanced cooling |
|
Weld lines |
Cool flow fronts, geometry |
Raise temp, adjust gate location |
|
Burn marks |
Trapped air, overheating |
Improve venting, lower speed/temp |
How Additives and Fillers Help Reduce Defects
The right additive or filler masterbatch can improve flow and reduce certain defects. Processing-aid and slip additives help melt flow into thin sections, easing short shots and flow marks.
Filler masterbatches such as calcium carbonate or talc improve dimensional stability and reduce shrinkage, which helps control sink marks and warping in thick sections. They also lower material cost.
Choosing a filler or additive should be part of the same conversation as tuning your process. When material, mould, machine, and design all line up, defect rates fall and quality stays consistent.
Conclusion
Injection moulding defects feel random until you trace them to their root cause. Short shots point to fill and pressure. Sink marks and warping point to wall thickness and cooling. Flash points to tooling and clamp force. Once you know the pattern, the fix follows quickly.
Treat every defect as a signal from one of four systems — material, mould, machine, or design — and check them methodically. Pair smart process control with the right filler or additive, and you’ll keep scrap low and quality high.
Facing a specific defect on your line? Talk to our technical team about the material and additive solutions that can help stabilise your process.
Frequently Asked Questions
Q: What are the most common injection molding defects?
A: The most common are short shots, sink marks, flash, warping, weld lines, and burn marks. Most trace back to four root causes — material problems, mold design flaws, incorrect machine settings, or poor part design — and each has a specific, well-understood fix.
Q: What causes a short shot in injection molding?
A: A short shot is caused by the cavity not filling. Common reasons are low injection pressure or speed, insufficient material, low melt temperature, trapped air from poor venting, or thin walls and long flow paths that restrict the melt before it reaches the far end.
Q: How do you fix sink marks in injection molding?
A: Reduce sink marks by lowering the thickness of thick sections, keeping ribs around 60% of adjacent wall thickness, increasing holding pressure to pack more material, and extending cooling time so the inner and outer layers solidify more evenly.
Q: Are injection molding defects always due to the machine?
A: No. Defects come from four sources: material, mold, machine settings, and part design. A single defect can have more than one cause, so effective troubleshooting checks all four rather than assuming the machine alone is at fault.
Q: Can additives reduce injection molding defects?
A: Yes. Processing aids and slip additives improve melt flow, helping prevent short shots and flow marks. Filler masterbatches like calcium carbonate and talc reduce shrinkage and improve dimensional stability, which helps control sink marks and warping.
